Make Your Own Silkscreen – Ikonart
A few years ago, I “found” Chalk Art. I signed up with a company and went “All In” with their products. I bought so many transfers, surfaces, paste and inks as well as the accessories to go with them. I loved the products and stuck with them for a few years. Unfortunately, life got in the way and my time being creative became inconsistent. I found that the chalk pastes began to dry out. Because I’d signed up as a designer with this company, I was required to meet a specific threshold of purchases each quarter. I’d gotten to the point where I really didn’t need to add to my supplies but wanted to find another source of silkscreens.
I did a Google search for silkscreens for crafting and stumbled upon Ikonart. When I started exploring their website, I couldn’t believe that I’d found a way to make my own silkscreens. Not only that, but Ikonart provides a product for me to make my own chalk paste. I was very excited by this.
Ikonart sells an exposure stand with a UV light that exposes any design (black ink) onto stencil films. They provide a special film for stencils that will be used on hard surfaces as well as one that will be used on textiles or wood (softer surfaces).
I will show you the process for creating your own stencil and chalk paste as well as applying it to a chalkboard frame.
1. First, you’ll need to print your design onto an Ikonart Printer Film. Your artwork must be BLACK. The dark ink is necessary for the UV Light to be able to expose your design onto the stencil film.
From experience, I found it best to empty my paper tray of copy paper and place 1 piece of printer film.
Make sure your printer is set to Glossy/Printer paper and set to print with the BEST quality.
2. Your design is now ready to be created on the Stencil film. First, place the stencil film on the Exposure Stand, followed by your design (on the film) with the clear exposure film on the top. Finally, turn the UV light on and allow it to expose your design onto the film for 30-35 seconds (depending on the type of printer you used).
You won’t see your design after the 30-35 second exposure. There’s another step before you’ll see your design on the stencil.
Do your best to keep your stencil film out of direct light. Until you’ve washed out your design you don’t want additional light to affect your stencil.
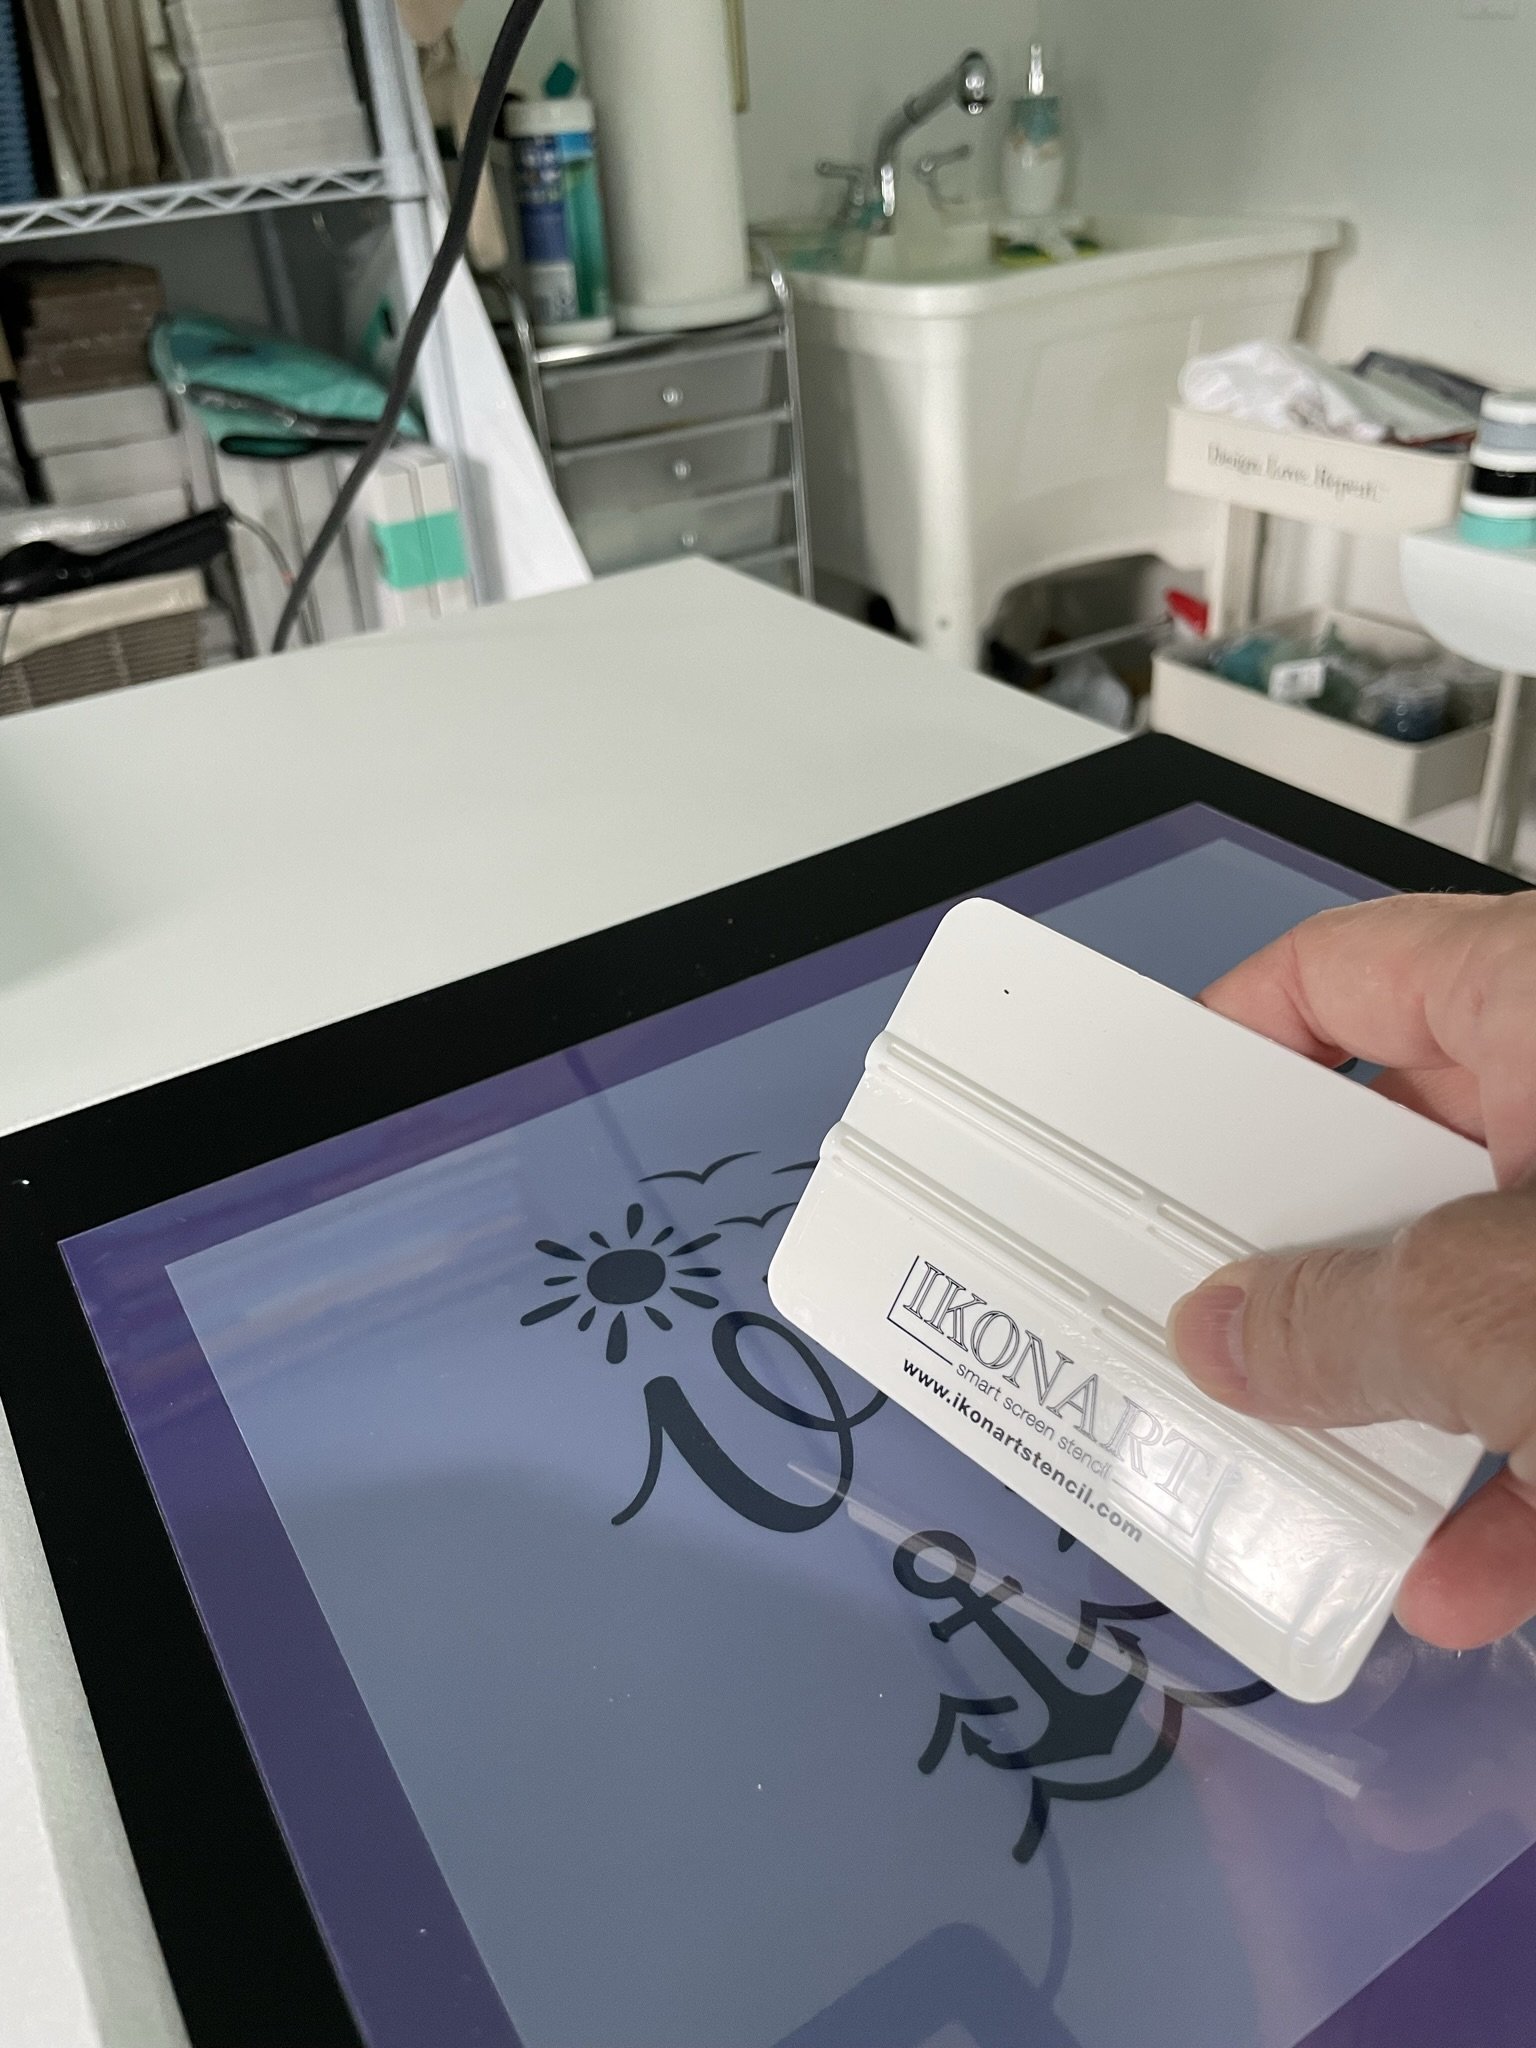
3. From here, it’s time to see your design on a stencil. You’re going to need warm water and a water nozzle to spray on the stencil film. Take your stencil to the location where you’ll spray out your design, keeping the film covered (out of direct light). For best results, put warm water in a sink and soak your stencil film for 1-3 minutes. Make sure the water isn’t too hot. You should begin seeing your design show through the film. Next, place the film onto the Ikonart clip board, turn on the spray nozzle with warm water and begin spraying your design out of the stencil film. You’ll spray until your design is WHITE in the stencil, then keep spraying for another minute or so for good measure.
Many of the videos I saw explaining this step suggested that the nozzle had to have some force behind it. After looking forward into this, I realized my bathroom shower head attachment was sufficient.
Before learning that I didn’t have to have a STRONG nozzle, I had my husband replace our outside shower head with a handheld nozzle because it had hot water and I thought I would need more pressure than my indoor handheld. This is wear I learned that exposing your stencil film in the sunlight would resist the exposure process. Therefore, I take my stencil to my bathroom, keeping the lights off until I’m able to see my design.
4. Now that you’ve exposed your design on the stencil film, allow it to dry for at least 45 minutes.
5. Once you’ve allowed it to dry thoroughly, place it back on the Exposure Stand and Post Expose the stencil for 2 minutes.
6. Now you’re ready to use the stencil in any matter you’d like. If you used the Blue stencil, you’ll probably want to use chalk paste on a hard surface. You can also use etching cream on glass to create a unique, personalized glass, wine glass, vase, etc.. If you used the purple stencil, you can use permanent ink on textile or wood.
You can see in the photo that I made my own chalk paste using the Ikonart Chalky Paint powder. Click HERE to learn how to make your own Chalk Paste.
7. After use, clean your stencil with warm water, both sides. Allow to dry thoroughly, then place the plastic backing sheet onto your stencil so you can continue to use the stencil over and over again.
Enjoy making your own silkscreen stencils. The possibilities are ENDLESS!


